Pages

Showing posts with label learn photoshop. Show all posts

Thursday, 15 January 2015

Realistic Photo Composite From a Sketch in Photoshop

Final Image
When mixing photos, it's often helpful to use digital painting techniques to help improve your scene. In this tutorial, we will show you how to combine several photos to create a realistic scene of a locomotive passing through a desert landscape. This tutorial will begin as a sketch, we will then show you how to combine photo manipulation and digital painting techniques to create finished artwork that looks amazingly close to the original sketch. Let's get started!

Sunday, 7 December 2014

Create a Button in photoshop

In this simple tutorial, we're going to create a clever little way of making little buttons using a couple of layers and one interchangeable image layer. As always you can download the sample PSD at the bottom of the tutorial to follow along and copy layer styles out of.
Start by drawing in a colored background. I've used dark brown/greys here and used a subtle radial gradient. Then in a new layer, draw a circle and fill it with a color. It doesn't matter what color you use; I've used green here.

Friday, 5 December 2014

Make Light and Shadow and a Coffee Cup

In this tutorial, we're going to use some simple circles and gradients to make a cup of coffee viewed from above. The end result isn't that useful, but the process is interesting nonetheless.
We begin with a nice pastelly-blue gradient. Note that with the gradient, I've put the lighter part in the top right. This is important because we are giving the impression that light is coming from the top right and this is will decide what direction other gradients need to go.
On top of that draw a circle and fill it with white.

Thursday, 20 November 2014

Create TV scan line

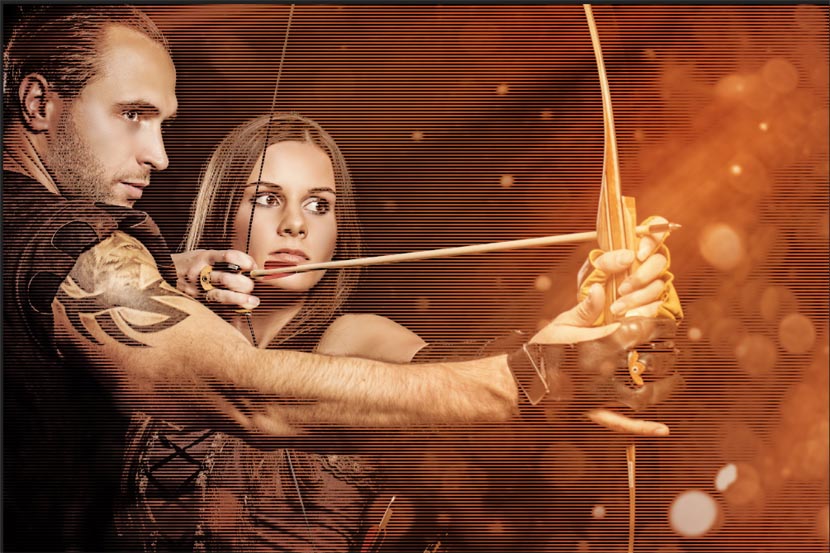
In this tutorial, we are going to create the classic TV scan line effect or interlacing effect. This gives a cool feel to the image. This is a quick and easy way to give a photograph and interesting hi tech look, or just to add some visual interest. This really comes from the classic/vintage style that you would see on old televisions. This comes from one of my original tutorials on Online Learn, but we give it a couple of twists at the end with some more advanced options.
scanlines15

Thursday, 13 March 2014

Create a Text Effect in Adobe Illustrator

Follow this tutorial and have fun creating a vector tomato text effect in Adobe Illustrator.
We will start with the letters and prepare them for the realistic tomato look that includes: the outer pulp, the seed pockets, the inner pulp and the seeds. We'll create all of these starting from simple shapes and using a few manipulation techniques along with the Pathfinder panel and the Appearance panel

Tuesday, 4 March 2014

World War II Era Dogfighter in photoshop


In design, great concepts can often be created by playing with words. In this tutorial, our friends at INK will show you how to create a furry World War II era aircraft, that we are calling a "dogfighter" using a handful of photos and a 3D model. Let's get started!

Monday, 24 February 2014

how to Mysterious Ghost Ship in Photoshop

In this Photoshop tutorial we will learn how to create an emotional dark fantasy photo manipulation featuring a ghost ship with a mysterious figure By following this tutorial, we will have fun while learning how to compose our own ghost ship by combining various stock image through photo manipulation techniques like blending, lightning and using custom brushes.

Final Image

As always, this is the final image that we’ll be creating:

Wednesday, 29 May 2013

How to AddRainbow Effect to a Photo in Photoshop

In this tutorial we will create a realistic rainbow and add it to our photo. This is an easy Photoshop tutorial, aimed at beginners with detailed explanations at each step.

Final Image

As always, this is the final image that we’ll be creating:
How to Add a Realistic Rainbow Effect to a Photo

Sunday, 8 January 2012

Make a Classic Air Mail Envelope with Adobe Illustrator


A happy holiday Quick Tip with Ryan shows us how to create a classic envelope in Adobe Illustrator, using simple shapes, effects, and gradients. After your envelope is created, some simple shadows and gradients create a warm background that makes the envelope look good enough to mail to Santa. I wonder if LoungeKat got him anything for Christmas?

Monday, 27 June 2011

Making a Message Strip In photoshop


In this tutorial, we’re going to make a little message strip in Photoshop that you can place in the top-right corner of a design. These little strips look very trendy and Web2.0-y, particularly in Web designs! It’s quite an easy effect to do, and in this tutorial we’ll add some shadow and light to make it pop!

Step 1:

To begin this tutorial as always, we will start with a nice radial gradient. I am addicted to radial gradients, so you should be too! I’m using a combination of nice blues. Here are the exact color codes:
Color 1 – #0e324f
Color 2 – #062033

Tuesday, 21 June 2011

create a fantastic glowing decorated time piece


Create a Fantastic Glowing Decorated Time Piece Final Image


Step 1

Create a new .psd file of 2000px width and 3300px height, 72dpi.
Click twice on the Background to make an ordinary layer of it as you’ll need to apply layer style later. Rename this Layer 0 as Background again for your convenience.

Monday, 13 June 2011

Placing Multiple Images In Text In Photoshop


In a previous Photoshop text effects tutorial, we looked at how to place a single image
inside text. This time, we're going to take things further and learn how to place multiple
images in text. This is a popular effect that's often used in advertising and promotional
material but is also lots of fun just to play around with on your own. We're going to take a
word and place a different image inside each individual letter. It's very easy to do, and a lot
of it is just simple repetition.
Photoshop Text Effects tutorial image

Wednesday, 1 June 2011

How to Create Eroded Metal Text with Photoshop


In this tutorial I’ll show you how to create an eroded metal text effect. Throughout this tutorial we’ll make use of various drawing techniques, channels, and patterns. Let’s get started!

Final Image 

Step 1

First we need to define a pattern of dots. Lets start by creating a new document 100 pixels wide and 100 pixels high, with a Resolution set to 300 pixels/inch. Fill the "Background" layer with black. Grab the Elliptical Marquee Tool, set the Style to a Fixed Size and set the Width and Height to 24 pixels. Click anywhere inside the canvas, then click inside the selection, drag and position it in the top-left corner of the canvas.

Saturday, 28 May 2011

In Photoshop Create a Spectacular Grass Text Effect


Step 1

This tutorial is made up of three parts—the background, the text itself, and some final extra effects. So first of all we’re going to make a background. To do this we create a new document in Photoshop. I made mine 1920 x 1200 because I want this image to sit on my laptop background.
We start by drawing a Radial Gradient with the Gradient Tool (G) going from a light yellow-green (#adbf41) to a mid-range green (#328a26). I wonder if I’ve ever written a tutorial that doesn’t start with a radial gradient. 

How to Create an Incredible Typographic Illustration


Final Product What You'll Be Creating


All work and no play makes Jack a dull boy. In this two-part tutorial, we’re going to learn how to bring a simple proverb into a complex typographic illustration that achieves a level of realism without actually using any photos. Yes, we’re going to build this idea from the bottom up. In the first part, learn how to model your own objects in Cinema 4D and prepare them for isolation in Photoshop.

Friday, 13 May 2011

Use Photoshop to Create a Still-Life Lamp, Nightstand, and Picture Frame


Final Product What You'll Be Creating

Photoshop allows us to manipulate most of the photos that we take and combine them into just about anything. It also allows us to create much of what we see in real life from scratch. In this tutorial, we will create the inside of a home from scratch using only Photoshop. In the end, we will create a lamp, nightstand, a picture frame and several other elements using layer styles and filters along the way. Let’s get started!

Create a Magical Four Piece Stardust Composition


Final Product What You'll Be Creating


Create a Magical Four Piece Stardust Composition
For whatever reason it is always fun to create composite images that use star fields as a backdrop. Star fields have a unique ability to make a composition look mysterious and even magical. In today’s tutorial we will demonstrate how to create a 4-piece stardust composition using textures and masks. Let’s get started!

Text